 Speedy UK Deliveries
 100% SECURE PAYMENT
 VOLUME DISCOUNTS
 Contact us
Speedy UK Deliveries100% SECURE PAYMENTVOLUME DISCOUNTSContact us
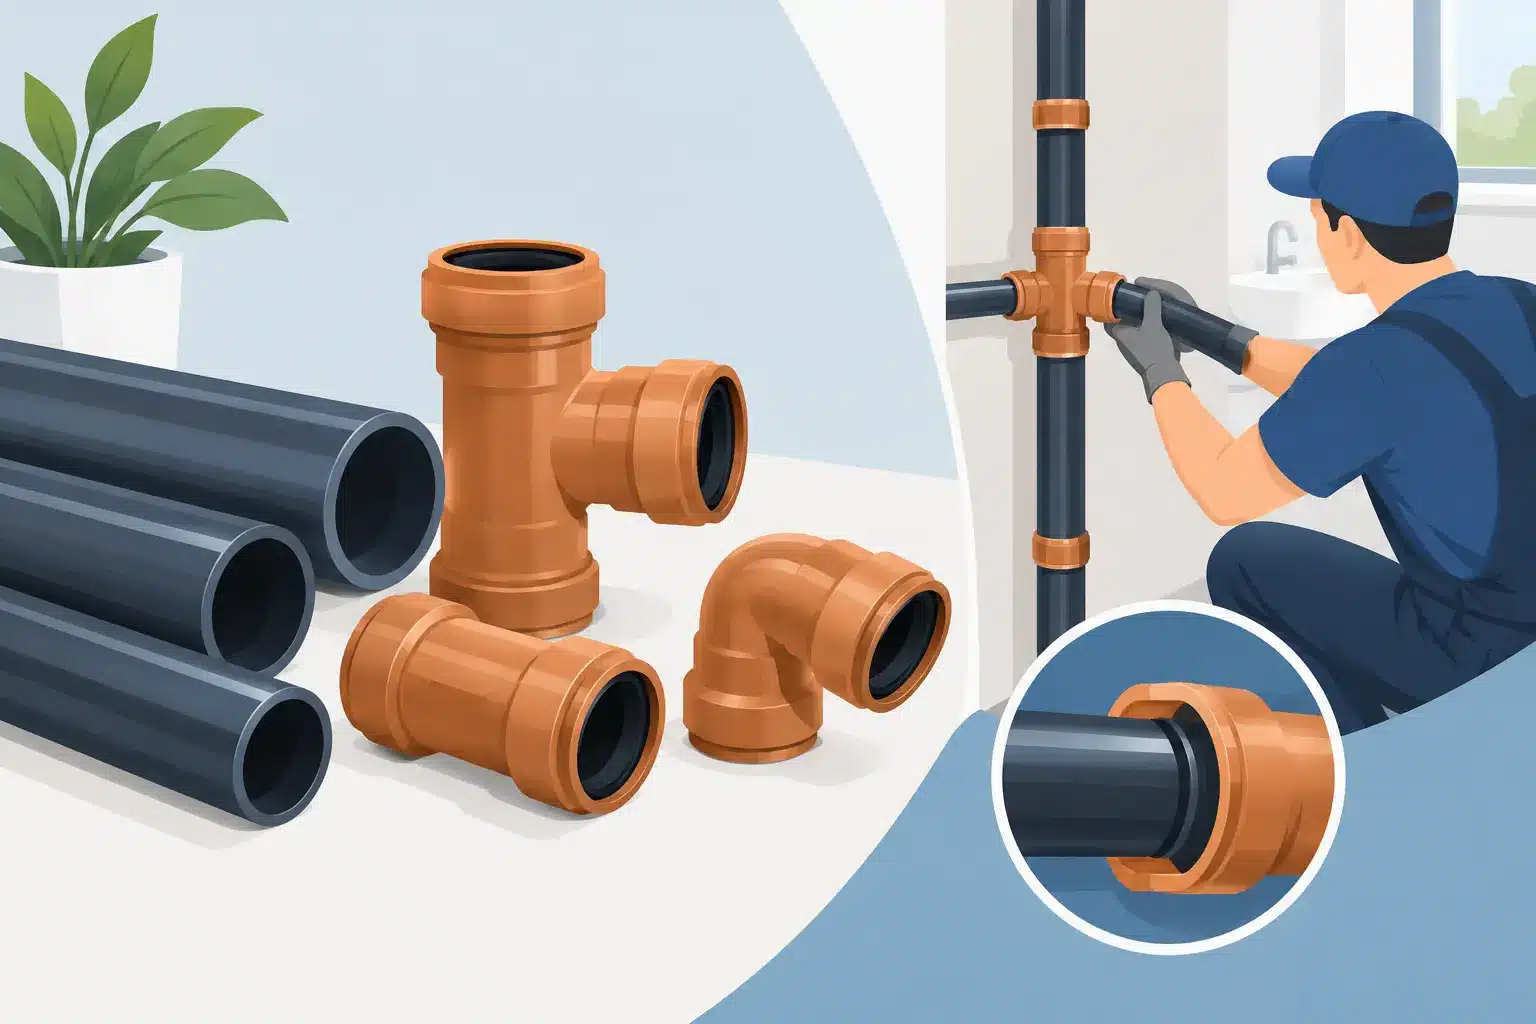
A push fit soil pipe system can save significant time on a bathroom refit, extension or replacement stack, but only when every pipe, seal and fitting is correctly matched. The familiar 110mm soil system is designed to carry foul water and waste from WCs, basins, baths and appliances into the below-ground drainage run, while allowing the stack to ventilate properly.
For plumbers and experienced DIY installers, the attraction is straightforward: joints assemble quickly without solvent cement, and sections can be removed or adjusted if access is needed later. That does not make it a fit-and-forget job. Poorly supported pipework, damaged seals or an incompatible connection to an existing system can still lead to leaks, odours and blocked drainage.
Push fit soil pipe is rigid plastic above-ground drainage pipe, normally 110mm in diameter, joined using socketed fittings with factory-fitted rubber sealing rings. A plain pipe end is pushed into the socket to create a watertight but flexible joint. Most domestic soil and waste installations use PVC-U components, valued for their durability, smooth bore and resistance to normal household wastewater.
The system includes more than straight lengths of pipe. A complete installation may require access bends, branches, swept bends, couplers, socket plugs, boss adaptors, pan connectors, weathering slates, soil manifolds and vent terminals. Selecting these as one compatible system matters more than simply matching the nominal 110mm size.
Push fit is principally used above ground. Once the pipework leaves the building and runs below ground, it usually connects to underground drainage pipe using a suitable adaptor, connector or chamber connection. Above-ground soil fittings and underground drainage fittings are not automatically interchangeable, even where both are described as 110mm.
The main benefit is installation speed. There is no curing time, no solvent to apply and no need to hold a joint while adhesive sets. This is particularly useful on maintenance work, where a section of stack may need replacing in a confined service void, or when a project has several soil branches to connect in one working day.
The rubber-ring joint also accommodates a small amount of movement. Plastic pipe expands and contracts with temperature changes, especially on external stacks exposed to sun and cold weather. A correctly assembled push-fit joint gives the pipe room to move within the fitting rather than forcing stress into the installation.
There are trade-offs. Solvent-weld joints create a permanent bonded connection and are often preferred for certain exposed, high-traffic or specification-led applications. A push-fit system relies on clean pipe ends, sound seals and proper engagement depth. If the pipe is not fully inserted, or if a seal is displaced, the joint can leak. The right choice depends on the site, the specified system and whether future alteration is likely.
For most UK domestic soil stacks, 110mm is the standard choice. Before ordering, confirm the outside diameter required by the existing pipework and identify whether the installation is push fit, solvent weld or another manufacturer-specific arrangement. Do not assume a fitting will seal correctly because it appears close in size.
When planning the run, start at the WC and work back towards the stack or drain connection. A toilet normally requires a dedicated branch or pan connection with a swept route into the vertical stack. Baths, basins, showers and appliances connect through correctly sized waste pipework and suitable boss connections. Waste pipes must include appropriate traps and falls; a soil stack is not a substitute for correctly designed waste drainage.
Use swept bends rather than tight changes of direction wherever possible. Foul water carrying paper and solids needs a route that keeps flow moving. Access should also be considered at changes in direction and at points likely to require rodding or maintenance. An access fitting placed during installation is much cheaper than opening a boxed-in stack later.
For external work, consider the finish as well as the fitting layout. Black, grey and white soil systems are common, but colours and profiles differ between ranges. If appearance matters, keep visible pipe and fittings within the same product family. For commercial or larger schemes, check the project specification for fire stopping, acoustic requirements, ventilation design and approved product standards before purchase.
A reliable order begins with a simple schedule: pipe lengths, branch angles, bends, access points, brackets, connectors and termination fittings. Include allowances for cuts and for the socket depth of every fitting. A pipe run can appear correct on a rough sketch but end up short once each joint takes up its insertion length.
If connecting into old cast iron, clay, lead or non-standard plastic pipework, measure the actual outside diameter and condition of the existing connection. A flexible adaptor or purpose-made conversion fitting may be required. Forcing a modern push-fit fitting over unsuitable pipe is not a repair method.
Start by setting out the route and confirming the position of the WC outlet, branch connections, stack, drain connection and vent termination. Keep the stack as vertical as practical and avoid unnecessary offsets. Any horizontal branch should be supported and laid to the appropriate fall so wastewater does not stand in the pipe.
Cut pipe squarely with a suitable saw or pipe cutter. Remove burrs inside and outside the cut, then chamfer the outside edge. This protects the sealing ring as the pipe enters the socket. A rough, unchamfered edge can roll or cut the rubber seal, creating a leak path that may not be obvious until the system is in use.
Before assembly, inspect the socket seal for dirt, damage or displacement. Mark the required insertion depth on the pipe where practical, apply an approved silicone-based joint lubricant if specified by the system manufacturer, and push the pipe fully home with a firm, straight motion. Avoid using oil, washing-up liquid or improvised lubricants, as these can affect seals or attract dirt.
On longer runs, allow for thermal movement in accordance with the pipe system guidance. This commonly means fully inserting the pipe, then withdrawing it slightly where the manufacturer requires an expansion gap. The exact method varies by system, so follow the instructions supplied for the product rather than applying a rule from a different range.
Support the pipe with suitable soil pipe brackets. Bracket spacing depends on whether the pipe is vertical or horizontal, the system manufacturer and site conditions, but unsupported lengths should never be left to sag. Position brackets close to sockets and changes of direction, and use fixings suitable for the wall material. A stack fixed to weak cladding or poorly secured timber can move enough to strain joints.
At ground level, use the correct adaptor or connection detail to join the above-ground stack to underground drainage. The connection must be secure, accessible where required and capable of dealing with movement between the building and external drain. Check that the underground pipework has the correct fall and that any inspection chamber arrangement remains serviceable.
The top of the stack needs proper ventilation. Depending on the design, this may be an open vent terminating at the required location or an air admittance valve installed internally in an accessible, ventilated position. Air admittance valves are useful where an open vent is impractical, but they are not suitable for every system or building arrangement. Follow Building Regulations, local authority requirements and the drainage design.
Where pipework passes through floors, walls or roofs, seal the penetration properly and provide fire stopping where required. External roof penetrations need an appropriate weathering slate or flashing detail. These finishing components are not minor extras: they prevent water ingress and help keep the completed installation compliant and durable.
The most frequent issue is mixing components without checking their fit. Nominally identical 110mm products can have different socket depths, seal arrangements or compatibility limitations. Buy pipe and fittings from a matching range whenever possible, then use recognised adaptors only where a transition is necessary.
Another common problem is failing to clean cut ends. Soil pipe often gets dragged across floors or cut on site, leaving grit around the spigot. That grit can compromise the seal. Clean each end before final assembly, particularly on external installations where dust, mortar and soil are present.
Do not conceal the system before testing. Run water through each connected appliance, flush the WC repeatedly and inspect every accessible joint. Check that branches drain cleanly, no water tracks from sockets and the stack is firmly bracketed. Testing before boxing-in gives you a straightforward correction rather than an expensive call-back.
A soil installation is usually more efficient to buy as a complete package rather than as a last-minute series of individual fittings. Alongside push-fit pipe, allow for brackets, access fittings, branch connections, pan connectors, seals, adaptors and any parts needed at the roof or underground transition. This reduces delays and helps keep products compatible across the job.
Speedy Plastics supplies trade-ready soil and waste components alongside underground drainage, inspection chambers and related fittings, making it easier to source connected pipework from one place. Check product dimensions, application details and system compatibility before placing the order, especially where you are tying into existing drainage.
A cleanly planned push-fit installation is quick to assemble, easy to maintain and built for years of everyday use. Measure the existing connection, map the full route, and make every joint as carefully as the one that will remain on show.









 Sign in
