 Speedy UK Deliveries
 100% SECURE PAYMENT
 VOLUME DISCOUNTS
 Contact us
Speedy UK Deliveries100% SECURE PAYMENTVOLUME DISCOUNTSContact us
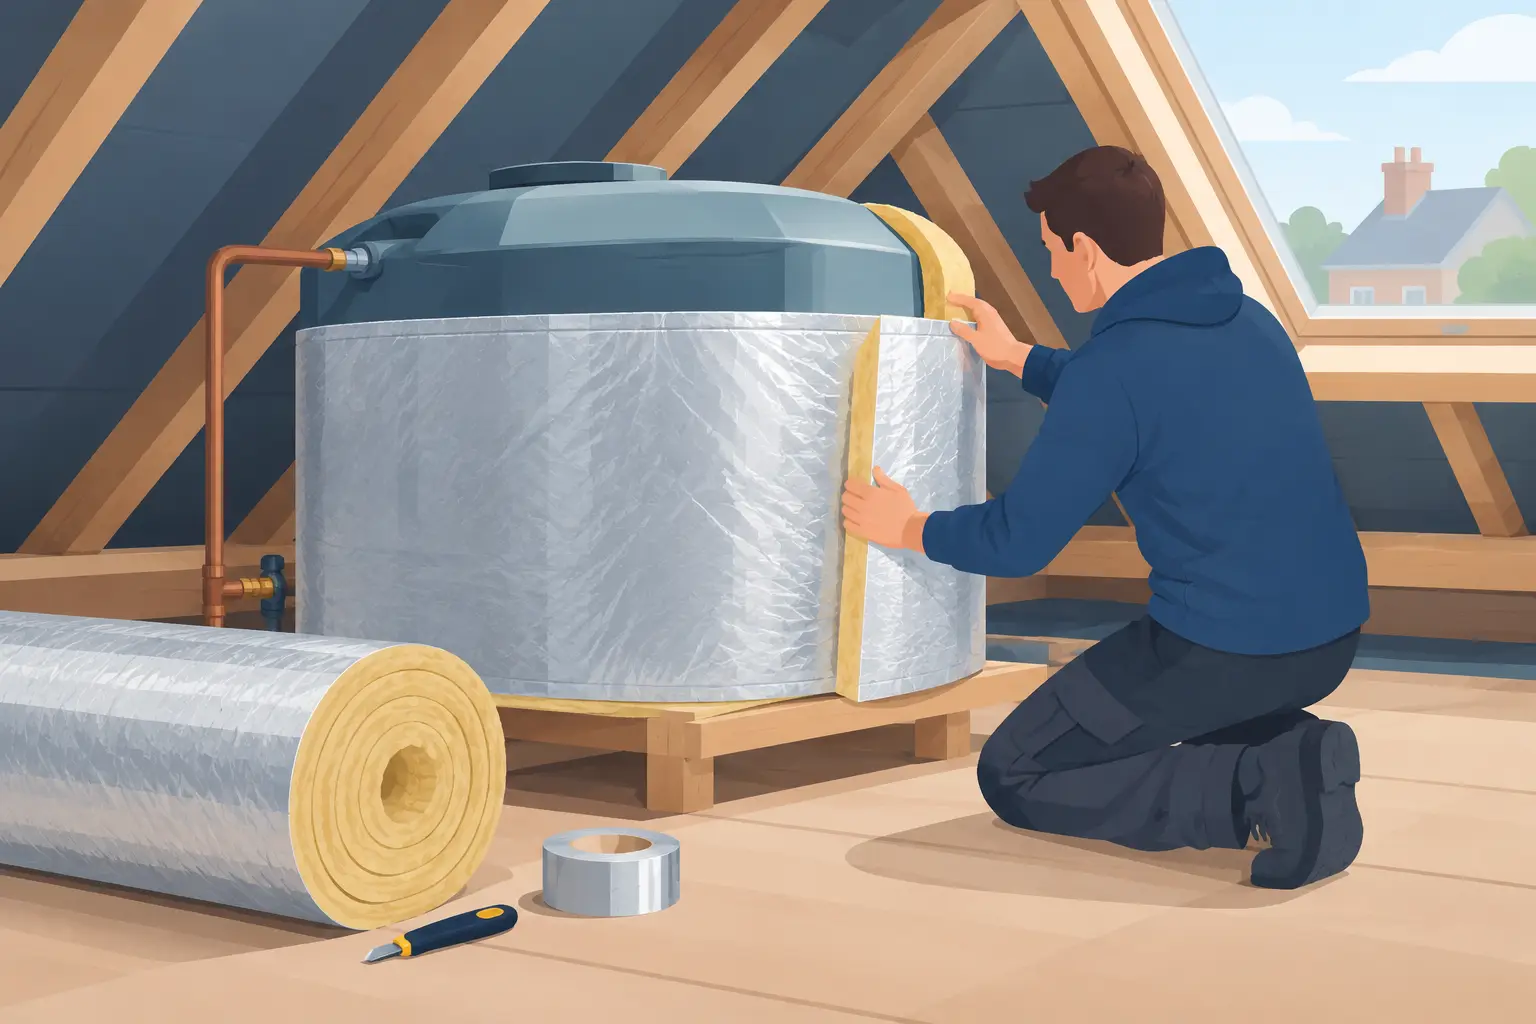
A frozen loft tank can mean no cold-water supply, damaged pipework and a costly clear-up once temperatures rise. Knowing how to insulate a loft tank properly protects the stored water and the vulnerable pipework around it, without preventing access for inspections or future maintenance.
For most UK homes, the aim is straightforward: keep the cold-water storage cistern and its pipes above freezing during cold weather, while retaining a secure lid, clear warning pipe and safe route to service valves. The right insulation depends on the tank size, the loft layout and whether the space is well ventilated, boarded or used for storage.
A cold-water loft tank, more accurately called a cold-water storage cistern, is commonly found in older vented plumbing systems. It supplies cold water to outlets and may feed a vented hot-water cylinder. Unlike a mains-fed system, it stores water in an unheated roof space, where frost is a real risk.
The tank itself needs a correctly sized insulation jacket or purpose-made cover. The lid must also be insulated, because heat escapes quickly through the top. Pipes entering and leaving the tank need separate pipe insulation, particularly where they run near the eaves, cross exposed joists or sit above the loft insulation level.
Do not assume that a deep layer of loft quilt is enough. Standard mineral wool laid between ceiling joists helps retain heat within the rooms below, but it does not properly protect a tank or pipework that sits above it. In fact, increasing loft insulation without upgrading the tank jacket and pipe lagging can leave the plumbing colder than before.
Before fitting anything, inspect the cistern carefully. Check for cracking, sagging, staining, damaged supports, a loose lid or signs of overflow. A jacket will not solve a leaking tank, failed ball valve or blocked warning pipe. Repairing these faults first avoids trapping a problem beneath the insulation.
The tank should sit on a solid, continuous platform that supports its full base. Timber boards must be sound and adequately supported across the joists. Never use insulation material to make up for an uneven or weak platform.
Make sure there is safe access to the loft and enough working room around the tank. You need to reach the lid, float valve, outlet connection and isolation valves where fitted. If the loft is boarded for storage, do not allow stored items to press against the tank, pipework or insulation jacket.
For a typical installation, have the following ready:
A purpose-made jacket is the practical choice for rectangular plastic loft tanks. It should cover the sides and top closely without crushing the tank, pulling on pipe connections or leaving large gaps at the corners. Modern jackets are commonly rated at around 80mm thick, which gives considerably better protection than older thin covers.
Measure the tank length, width and height before ordering. Do not estimate from the loft hatch or rely on the nominal litre capacity alone. Two tanks with similar capacities can have different external dimensions, and a loose jacket leaves cold spots around the upper sides and corners.
For pipework, use pre-slit foam lagging or suitable mineral-fibre pipe insulation. The bore of the insulation should match the pipe outside diameter so it closes snugly. In exposed lofts, 25mm wall-thickness insulation is often a sensible minimum for cold-water pipes, although more may be needed where pipes are close to the roof line or the property is in a particularly cold area.
Keep materials appropriate to the job. A cold-water loft tank needs insulation that reduces heat loss and frost risk, not foil bubble wrap, old duvets or loose offcuts pushed around fittings. Improvised materials can absorb moisture, slip out of place and make it harder to spot leaks.
Start with the tank empty only if work on the tank, platform or plumbing requires it. For fitting a jacket alone, a sound tank can normally remain in service, provided you can work safely and avoid putting weight on it. Never lean on the lid or use the cistern as a support.
Fit the side sections first. Position them so the insulation sits evenly against the tank walls and reaches as close as practical to the base without interfering with the platform, outlet fittings or pipe connections. Fasten the jacket using its supplied ties or fixings. It should be secure, but not pulled so tight that it distorts a plastic tank.
Fit the insulated lid section next. The tank must retain a proper, close-fitting lid to stop debris, insects and loft dust entering the water. Leave the lid removable. You or a plumber must still be able to inspect the float valve and water level without dismantling the whole installation.
Do not cover, block or seal the warning pipe. This pipe is there to show that the tank is overflowing, usually discharging visibly outside the building. It must remain unobstructed and should be checked for damage or freezing risk. Likewise, keep any vent pipe arrangement clear and avoid compressing insulation around connections.
The base needs some judgement. In many lofts, the tank benefits from warmth rising through the ceiling below, so fully insulating underneath it may not be the best approach. If the cistern is on an exposed platform above a cold void, or the loft has unusually high ventilation, seek advice from a qualified plumber on the most suitable arrangement. The objective is frost protection without cutting the tank off from useful background heat.
A well-insulated tank can still be affected by a frozen outlet pipe. Lag the incoming mains-fed pipe, outlet pipe, overflow or warning pipe where appropriate, vent pipe and any nearby cold-water distribution pipes. Pay special attention to bends, tees, valves and short sections where standard pipe insulation often stops.
Cut lagging neatly so it butts tightly at joints. Seal the splits and joins with suitable tape, especially where the insulation could open over time. Avoid forcing pipe insulation over fittings that it does not suit. Use shaped sections or carefully cut pieces to cover awkward areas without putting strain on the pipework.
Do not lag over an active leak or corrosion. Copper pipework with green staining, damp joints or a persistent drip needs repair first. Insulation can hide the evidence until a small fault becomes ceiling damage.
The most common error is wrapping the tank but leaving the lid and nearby pipes exposed. Another is placing heavy loft boards or stored boxes on top of the jacket, which compresses the insulation and makes access difficult.
Avoid covering electrical cables, recessed light fittings or ventilation paths with unsuitable insulation. If the tank shares a loft with a boiler flue, electrical equipment or complex pipework, maintain the required clearances and follow the relevant manufacturer instructions. A loft tank jacket should never be used to conceal unsafe services.
It is also worth checking the loft hatch. A draughty, uninsulated hatch can lower the temperature around the tank significantly. Adding insulation to the hatch and ensuring it closes properly can support the protection provided by the tank jacket and pipe lagging.
Once the insulation is fitted, check that the lid lifts off, the float valve moves freely and every pipe connection remains visible enough to inspect. Confirm that the warning pipe is clear, the jacket is secure and no pipe insulation has slipped from a joint.
A quick pre-winter check is good property maintenance, especially in vacant homes, rental properties and buildings that are heated intermittently. During a severe cold spell, keep enough background heating on to reduce the risk of freezing in concealed plumbing runs.
A correctly sized tank jacket, properly fitted pipe insulation and clear service access are modest upgrades compared with the disruption caused by burst pipework. For dependable loft-tank insulation and compatible water-management materials, Speedy Plastics offers practical options for trade and DIY installations.









 Sign in
