 Speedy UK Deliveries
 100% SECURE PAYMENT
 VOLUME DISCOUNTS
 Contact us
Speedy UK Deliveries100% SECURE PAYMENTVOLUME DISCOUNTSContact us
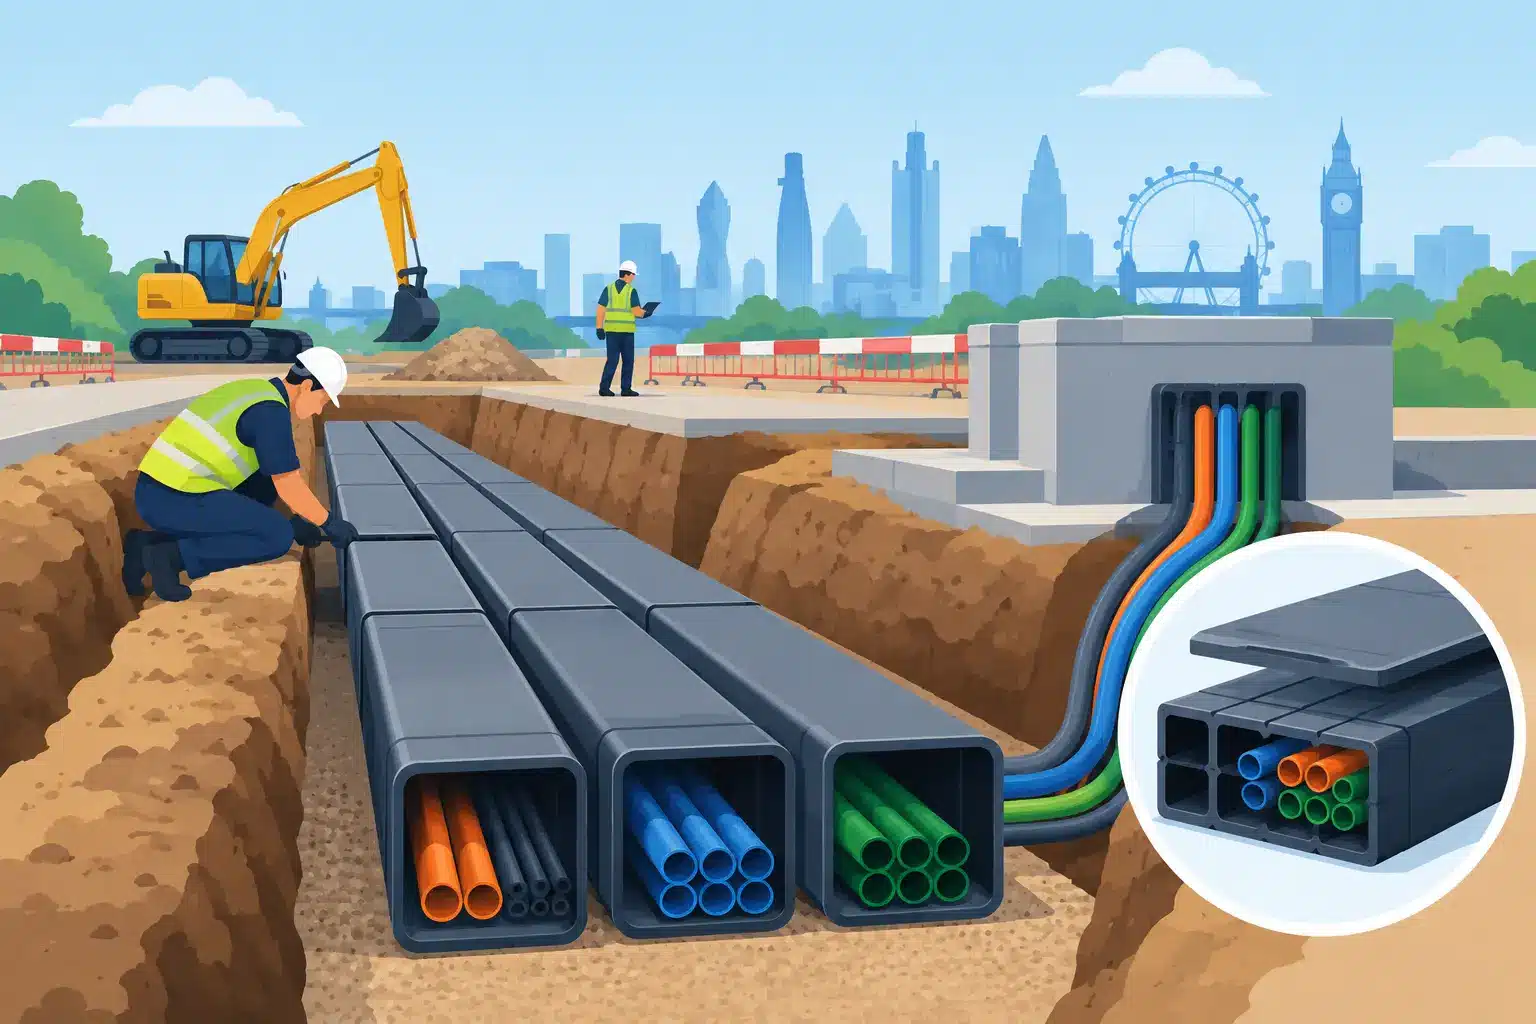
A utility duct is inexpensive compared with the disruption of reopening a finished driveway, landscaped area or access road. This utility duct installation guide sets out the practical decisions that protect a cable route from damage, keep it accessible for future work and help avoid costly delays on site.
Ducting is not simply a pipe buried in a trench. The correct duct type, route, depth, draw rope, chamber positions and backfill all need to suit the service owner’s requirements and the conditions on site. For adopted or network connections, the utility provider’s current specification always takes priority.
First establish exactly what the duct is carrying or reserving space for. Electricity, telecommunications, fibre, street lighting, CCTV, water-related controls and private-site services can each have different requirements for duct material, colour, diameter, depth, bends, draw cords and identification.
Do not assume a duct suitable for one service is acceptable for another. A private cable route may be designed around the cable manufacturer’s requirements, while a connection intended for adoption may require a named duct system, approved fittings and inspection arrangements specified by the network operator. Ask for the specification before ordering materials or excavating.
For many below-ground applications, high-density polyethylene twin-wall ducting is a practical choice. Its corrugated outer wall provides strength under ground loads, while the smooth bore helps cable pulling. Match the duct diameter to the cable size, pulling method and any allowance for future capacity. A duct that is too tight makes installation difficult and can leave no practical route for replacement or additional cables.
It is also worth separating services where the design calls for it. Keeping power, communications and other utilities in their own ducts makes identification, maintenance and future upgrades more straightforward. Required separation distances vary by service, voltage, location and asset owner, so work from the approved drawings rather than relying on a rule of thumb.
A clean, direct route is usually the most economical, but it must still allow safe access and avoid known obstructions. Mark the proposed line, chamber locations, entry points into buildings and changes of direction. Check finished levels as well as existing ground levels, particularly where the route passes beneath drives, paths or landscaped areas.
Before excavation, obtain utility records and carry out a suitable survey for existing buried services. Records are useful, but they are not a guarantee of a service’s precise position or depth. Use safe digging practices and follow the applicable guidance for locating and working near underground apparatus. Mechanical excavation close to a marked or suspected service should only proceed in accordance with the site method statement.
Plan chambers or draw pits where they will genuinely help installation and maintenance. Long runs, significant changes of direction and transitions into buildings are common locations. A chamber needs to be accessible after the project is complete, not hidden below a patio or obstructed by parked vehicles. Select a cover and frame suitable for the loading expected at that location.
Avoid unnecessary bends. Every bend increases pulling resistance and raises the chance of damaging the cable or draw rope. Where a change of direction is unavoidable, use long-radius bends or a chamber arrangement approved for the service. Sharp turns made by forcing flexible duct around a corner are a frequent source of future cable-pulling problems.
Excavate to the depth, width and formation specified by the utility owner, designer or project drawings. Depth is not one universal figure: it can change according to the service type, whether the route crosses private land or highway land, and whether it sits beneath soft landscaping, a footway or a trafficked surface.
The trench bottom should be even and free from sharp stones, rubble, roots and standing water. Where the ground is rocky, uneven or likely to move, place a suitable fine bedding material to create continuous support. Do not lay duct directly on large aggregate or hard projections. Point loading can distort the duct and make cable installation difficult.
If water collects in the trench, deal with the cause before continuing. Pumping may be necessary during installation, but a persistently wet formation may require further ground preparation or drainage measures. The duct route must remain stable through construction, not only look tidy on the day it is installed.
Lay each length in the trench without kinks, crushing or excessive deflection. Keep the bore clear as you work and cap open ends during breaks in installation. Soil, stones and concrete wash can quickly turn an otherwise usable duct into a blocked route.
Use compatible couplers and seals designed for the duct system. Joints should be fully engaged, correctly aligned and protected from intrusion by surrounding material. Improvised joints may appear acceptable before backfilling but can separate, leak fines into the bore or snag a cable years later.
Install a draw rope or draw cord at the same time as the duct, unless the service specification says otherwise. Choose a rope with suitable strength for the intended pull and leave enough tail at each chamber, cabinet base or building entry point for safe access. Secure it so that it cannot be accidentally pulled through the run. A draw rope is a low-cost addition that saves significant time when cables are installed later.
Where ducts enter a building, cabinet, kiosk or chamber, seal the annular space using an appropriate system after the cable work is complete. The aim is to prevent water, soil, gases and pests entering the structure while retaining access for maintenance where required. Do not permanently seal a duct before the planned cable has been drawn in.
Duct emerging from the ground is vulnerable to impact, ultraviolet exposure and movement. Provide protection where it rises at a wall, cabinet or service pedestal, and avoid leaving exposed ends unsupported. Clearly label ducts where required so that later trades can identify the route and service without guesswork.
Once the duct is in position and the route has been checked, surround it with suitable selected fill as specified. Compact in controlled layers, taking care not to displace or flatten the duct. Heavy compaction equipment should not operate directly over a shallow or inadequately protected duct run.
Install warning tape at the specified level above the duct. This gives anyone excavating in the future an early visual warning before they reach the service. Marker tape is not a substitute for records, survey information or safe excavation procedures, but it is a valuable additional layer of protection.
The final backfill and reinstatement must suit the surface above. A route beneath a driveway or access road may need a more carefully designed construction than one beneath a planting border. Restore sub-base, surfacing, edging and drainage details properly so that the finished area does not settle or collect water.
Do not wait until the electrician or communications contractor arrives to find that the duct is blocked. Prove the route after installation and before final handover. Pass a suitable mandrel, brush or proving device where required by the specification, then confirm that the draw rope runs freely from end to end.
Check chamber positions, covers, labels, duct caps and entry seals. Photograph key stages before backfill, including duct runs, joints, warning tape and measured offsets from permanent features. Record the route, depth information and chamber references on as-built drawings. These records are often more valuable than the installation itself when alterations are needed years later.
For larger commercial, agricultural or multi-service sites, keep each utility route clearly documented and allocate spare ducts where the project budget allows. Installing an additional empty duct during groundworks is normally far cheaper than reopening finished surfaces for a future EV charger, gate supply, fibre connection or outbuilding conversion.
A complete installation requires more than duct lengths. Typical requirements include compatible couplers, bends, end caps, draw ropes, chambers or draw pits, covers, warning tape and selected bedding material. The exact combination depends on the service design and site conditions.
Speedy Plastics supplies trade-ready ducting, drainage and chamber components for projects that need compatible below-ground materials from one source. Check diameter, duct type, loading requirements and any approval specified by the utility owner before placing the order, particularly on adopted or provider-controlled works.
A properly installed duct should disappear from view but remain easy to find, prove and use. Put the effort into the route, bedding, joints and records while the trench is open, and the service installation that follows will be quicker, safer and far less likely to disturb finished ground.









 Sign in
