Speedy UK Deliveries
 100% SECURE PAYMENT
 VOLUME DISCOUNTS
 Contact us
Speedy UK Deliveries100% SECURE PAYMENTVOLUME DISCOUNTSContact us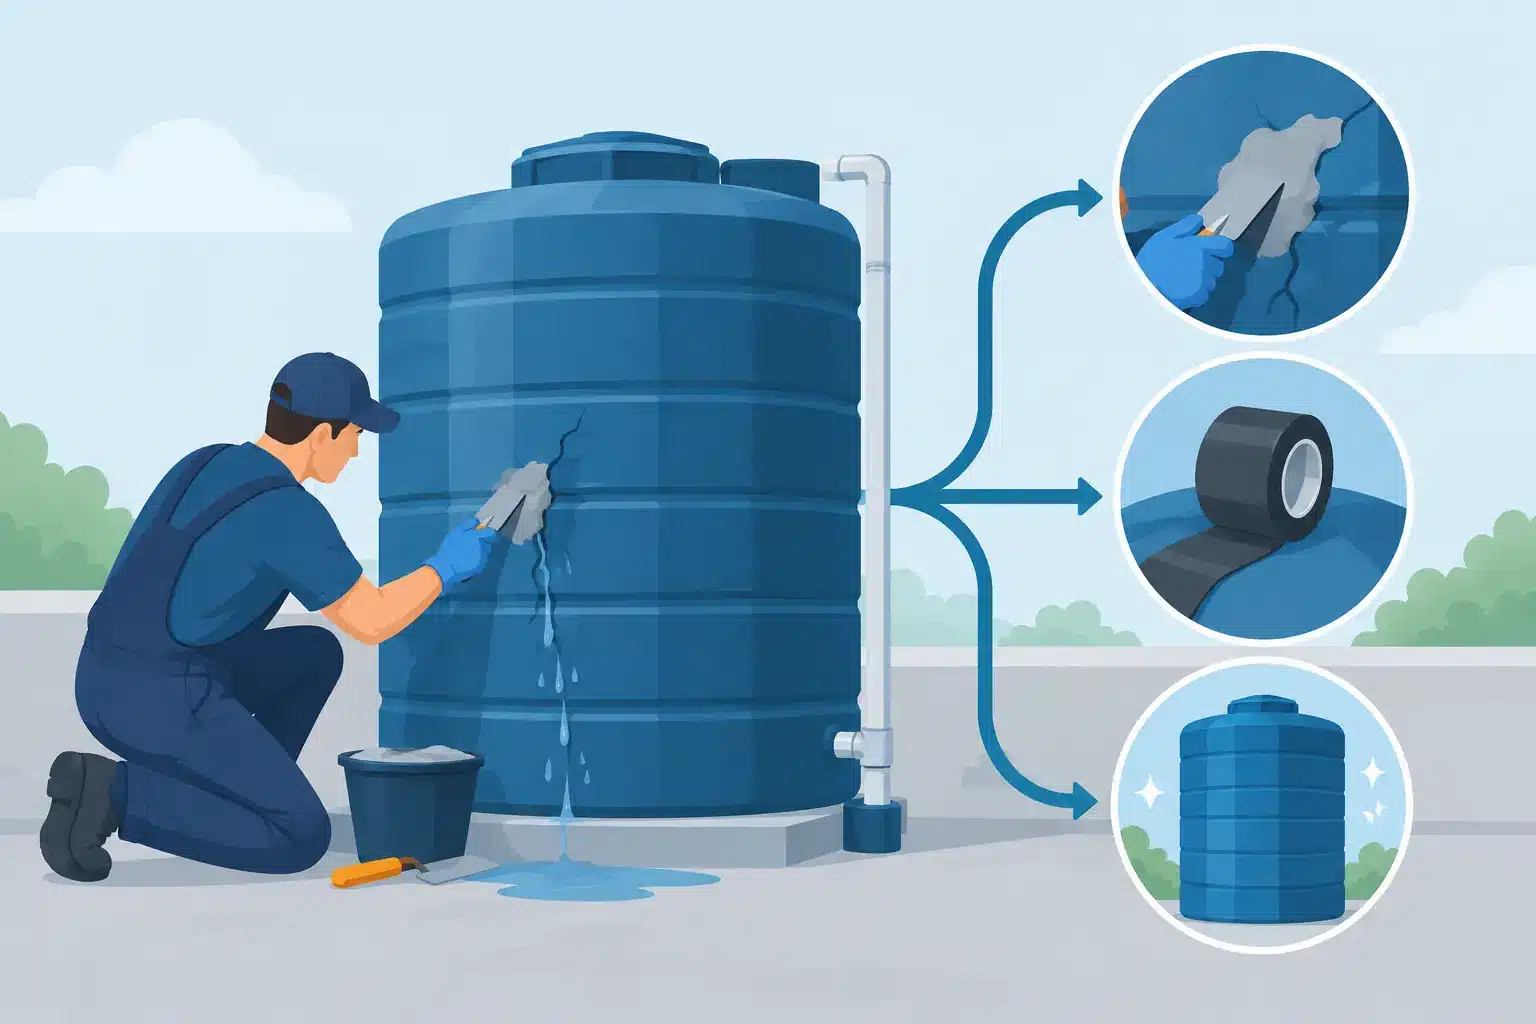
A damp ceiling below a loft tank, a slowly falling water level or staining around an outlet fitting usually means one thing: water tank repairs need dealing with before a minor defect becomes damage to insulation, ceilings and electrical work. The right response depends on where the water is escaping, the tank material and whether the storage cistern is still structurally sound.
For many UK homes, a cold-water storage tank in the loft supplies bathroom fittings and, on older systems, a vented hot-water cylinder. Commercial, agricultural and industrial installations may use much larger plastic tanks for process water, rainwater or non-potable storage. The principles are similar, but the consequences of an unsuitable repair are not. A quick patch may stop a drip temporarily; it does not necessarily restore the tank’s strength or make a potable-water installation safe.
Do not assume that every wet tank has a cracked body. Water often tracks along pipework or tank ribs before dripping from a completely different point. Dry the outside of the tank and its fittings, then inspect it while the system is operating. Use a torch to check underneath, around moulded connections and at the rear of the tank where access is often restricted.
A fault generally falls into one of three areas: the tank shell, a connection or fitting, or the controls inside the tank. Each calls for a different repair.
A crack in the tank body may appear as a fine line, a wet streak or a small opening close to a moulded rib, support point or outlet. Cracks can result from frost, age-related material fatigue, impact, ultraviolet exposure on externally installed tanks, or a tank that has not been fully supported beneath its base. Plastic tanks are designed to carry water evenly across a solid, level platform. Unsupported corners and narrow timber bearers create concentrated loads that can distort the base and stress the walls.
Leaks at outlets, overflows and pipe entries are more commonly caused by a loose backnut, damaged washer or poorly aligned fitting. The tank itself may be perfectly serviceable. Check for movement at the fitting, but avoid overtightening plastic threads. A fitting tightened too hard can distort the wall of the tank or crack the fitting body.
If water is emerging from the overflow or warning pipe, the issue is normally a faulty float valve, float adjustment or contaminated valve washer rather than a split tank. A continuous trickle wastes water and can cause external staining, while an overflowing cistern can quickly saturate a loft. Isolate the incoming supply before dismantling the valve, and replace worn components with suitable parts for the valve type and water application.
A repair can be sensible when the tank body is undamaged and the fault is confined to a replaceable component. Outlet fittings, tank connectors, float valves, ball floats, washers and overflow connections can usually be renewed without replacing the cistern. Match the fitting size to the existing connection and use components intended for water storage. For supplies feeding drinking-water outlets, materials and fittings should be suitable for potable water use; WRAS-approved components provide useful assurance of compatibility.
Before removing an outlet fitting, isolate the feed and drain the tank to a level below the connection. This is not a job to rush. A full tank places substantial load on a connector, and removing a fitting under pressure can release a large volume of water into the loft. Once drained, clean the mating surfaces thoroughly, fit the correct washers in their intended positions and tighten evenly by hand before making a careful final adjustment. Refill gradually and inspect for weeping as the water level rises.
Small defects in some polyethylene tanks can be plastic-welded by a specialist using compatible welding rod and controlled heat. This is not the same as applying a general-purpose adhesive, silicone or epoxy patch. Many adhesives do not bond reliably to polyethylene, particularly when the surface has been exposed to moisture, limescale or movement. Even a successful-looking patch may fail once the tank is full and under continuous stress.
Professional plastic welding may be appropriate for a minor, accessible crack away from outlets, corners and heavily loaded areas. It is less suitable where a crack has spread, where the tank wall has become brittle, or where the defect points to inadequate support. If the tank stores potable water, confirm that the repair method and materials are suitable for that use. A repair that introduces unsuitable material into the stored water is a false economy.
Replacement is generally the safer option when there is more than one crack, visible distortion, a brittle or chalky surface, a split around an outlet, or evidence that the base has sagged. A tank that leaks because it is unsupported should not simply be patched and refilled. Correct the base first, otherwise the same stress is likely to reopen the repair or damage a new tank.
Age alone does not automatically condemn a plastic cistern, but its condition matters. Older tanks may have weakened after years of heat cycles in the loft, frost exposure or repeated flexing. A crack around a fitting is particularly significant because the fitting area experiences local stress each time pipework moves or the tank expands and contracts.
Replacement can also be more cost-effective than a complex repair once labour, drainage, access and the risk of a repeat visit are considered. This is especially true where a tank is difficult to reach or where a failure could damage a finished property below. For a loft installation, select a cold-water storage cistern with adequate capacity, a properly fitting lid and compatible connections. A close-fitting lid helps prevent debris, insects and loft insulation entering the water.
The tank platform must support the full footprint of the cistern, not just its edges. It should be level, rigid and capable of carrying the water weight when full. As a guide, one litre of water weighs roughly one kilogramme, so a 227-litre tank holds more than 227kg of water before the weight of the tank and fittings is considered. Check that the supporting structure is suitable, particularly where a larger replacement tank is being specified.
Compatibility avoids most repeat leaks. Measure pipe outside diameters and existing fitting sizes rather than relying on a visual guess. Loft-tank connections may be specified in imperial sizes, while associated water pipe is often described in metric dimensions. The fitting, pipe and adaptor must be chosen as a working system.
For incoming mains connections, use WRAS-approved MDPE water pipe and compatible fittings where required. MDPE is intended for cold-water supply applications, but it is not interchangeable with every internal pipe system without the correct transition fitting. For gravity outlets from a storage cistern, confirm the connection type, thread size and washer arrangement before ordering. It is worth replacing visibly perished washers and corroded ancillary components while the tank is drained, rather than reopening the installation weeks later.
Insulation is another practical part of the repair. A correctly sized insulation jacket helps protect a loft tank from freezing conditions, while pipe insulation should cover exposed feed, vent and distribution pipes. Do not insulate beneath a tank in a way that compromises the support platform, and do not cover or obstruct the lid. The aim is to retain heat around the stored water while maintaining access for inspection and maintenance.
Once repairs or replacement work are complete, refill slowly and stay with the installation. Check the outlet and overflow connections first, then inspect the base and supporting platform as the tank gains weight. Operate the float valve and make sure it closes cleanly before water reaches the overflow level.
Also check that the warning pipe discharges visibly outdoors and is not blocked, capped or routed where an overflow would go unnoticed. Confirm that the lid is fitted, the insulation jacket is secure and nearby pipework is supported independently of the tank connections. Pipework should not hang from an outlet fitting or use the tank wall as a fixing point.
For contractors and maintenance teams, keeping a record of tank capacity, fitting sizes and valve type makes future work faster. For homeowners, a clear photograph of the outlet arrangement before disassembly can prevent confusion when choosing replacement parts. Speedy Plastics supplies trade-ready cold-water tanks, insulation and compatible water-management components so connected work can be sourced in one order.
A water tank does not need constant attention, but it does benefit from a quick visual check before winter and after any loft work. Catching a weeping fitting, damaged lid or weak platform early is usually far cheaper than repairing the ceiling below it.